Why Bark Isn’t Worth Keeping
Live edge slabs look amazing — but keeping the bark intact often isn’t the best idea. Once the wood is kiln-dried, the bark becomes brittle and flaky. Even if you clear coat over it, there’s a good chance it’ll crack or fall off later, ruining the clean look of your piece. That’s why most woodworkers remove it before finishing, and thankfully, it’s easier than you might think.
In this guide, we’ll walk you through how to prep the live edge — from bark removal to sanding techniques — using only basic tools and a bit of time.
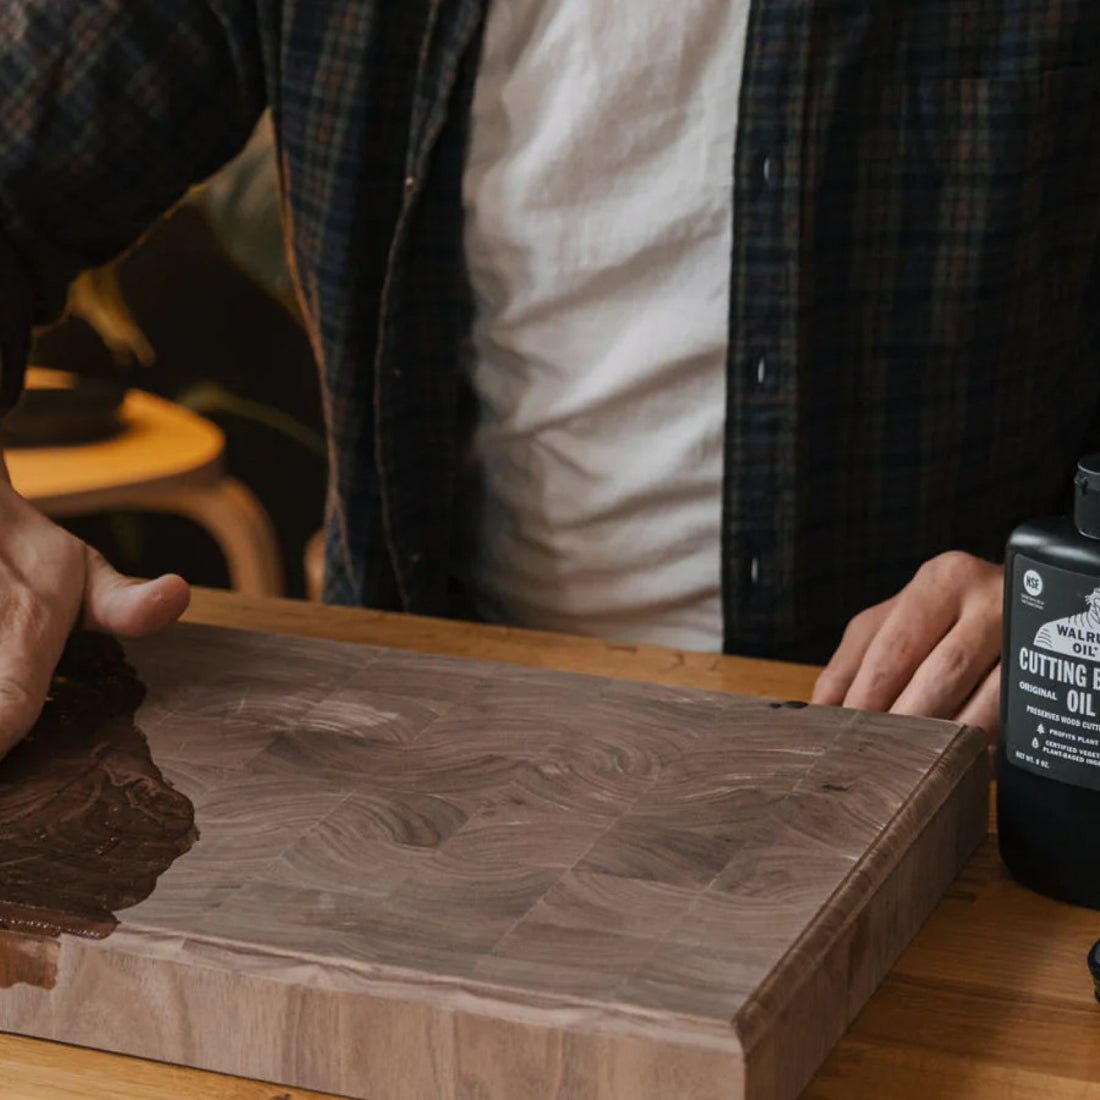
Step 1: Remove the Bark
There’s more than one way to de-bark a slab, depending on what tools you have:
Drawknife (two-handled tool) – Often used for bark removal, this is the most efficient and controlled method. Just pull the blade toward you, following the curve of the edge.
Screwdriver and mallet – The DIY route. Wedge the screwdriver under the bark and gently tap with a mallet to loosen it up.
Paint scraper or chisel – Also works well, especially for thinner bark sections.
Once you’ve stripped the bark, you’ll be left with a thin layer of what we call “bark skin” — a fibrous, dusty layer that’s easy to sand off.
Step 2: Sand the Bark Skin (With Dust Protection)
Bark residue isn’t dense, but it creates a surprising amount of dust. Always wear proper dust protection (mask + eye protection), especially if you're working indoors.
Start with a lower grit (like 80-grit) on your orbital sander or sanding block and work your way through that top layer. You’ll know you’ve hit clean wood when the surface stops producing dusty fibers and starts feeling consistent.
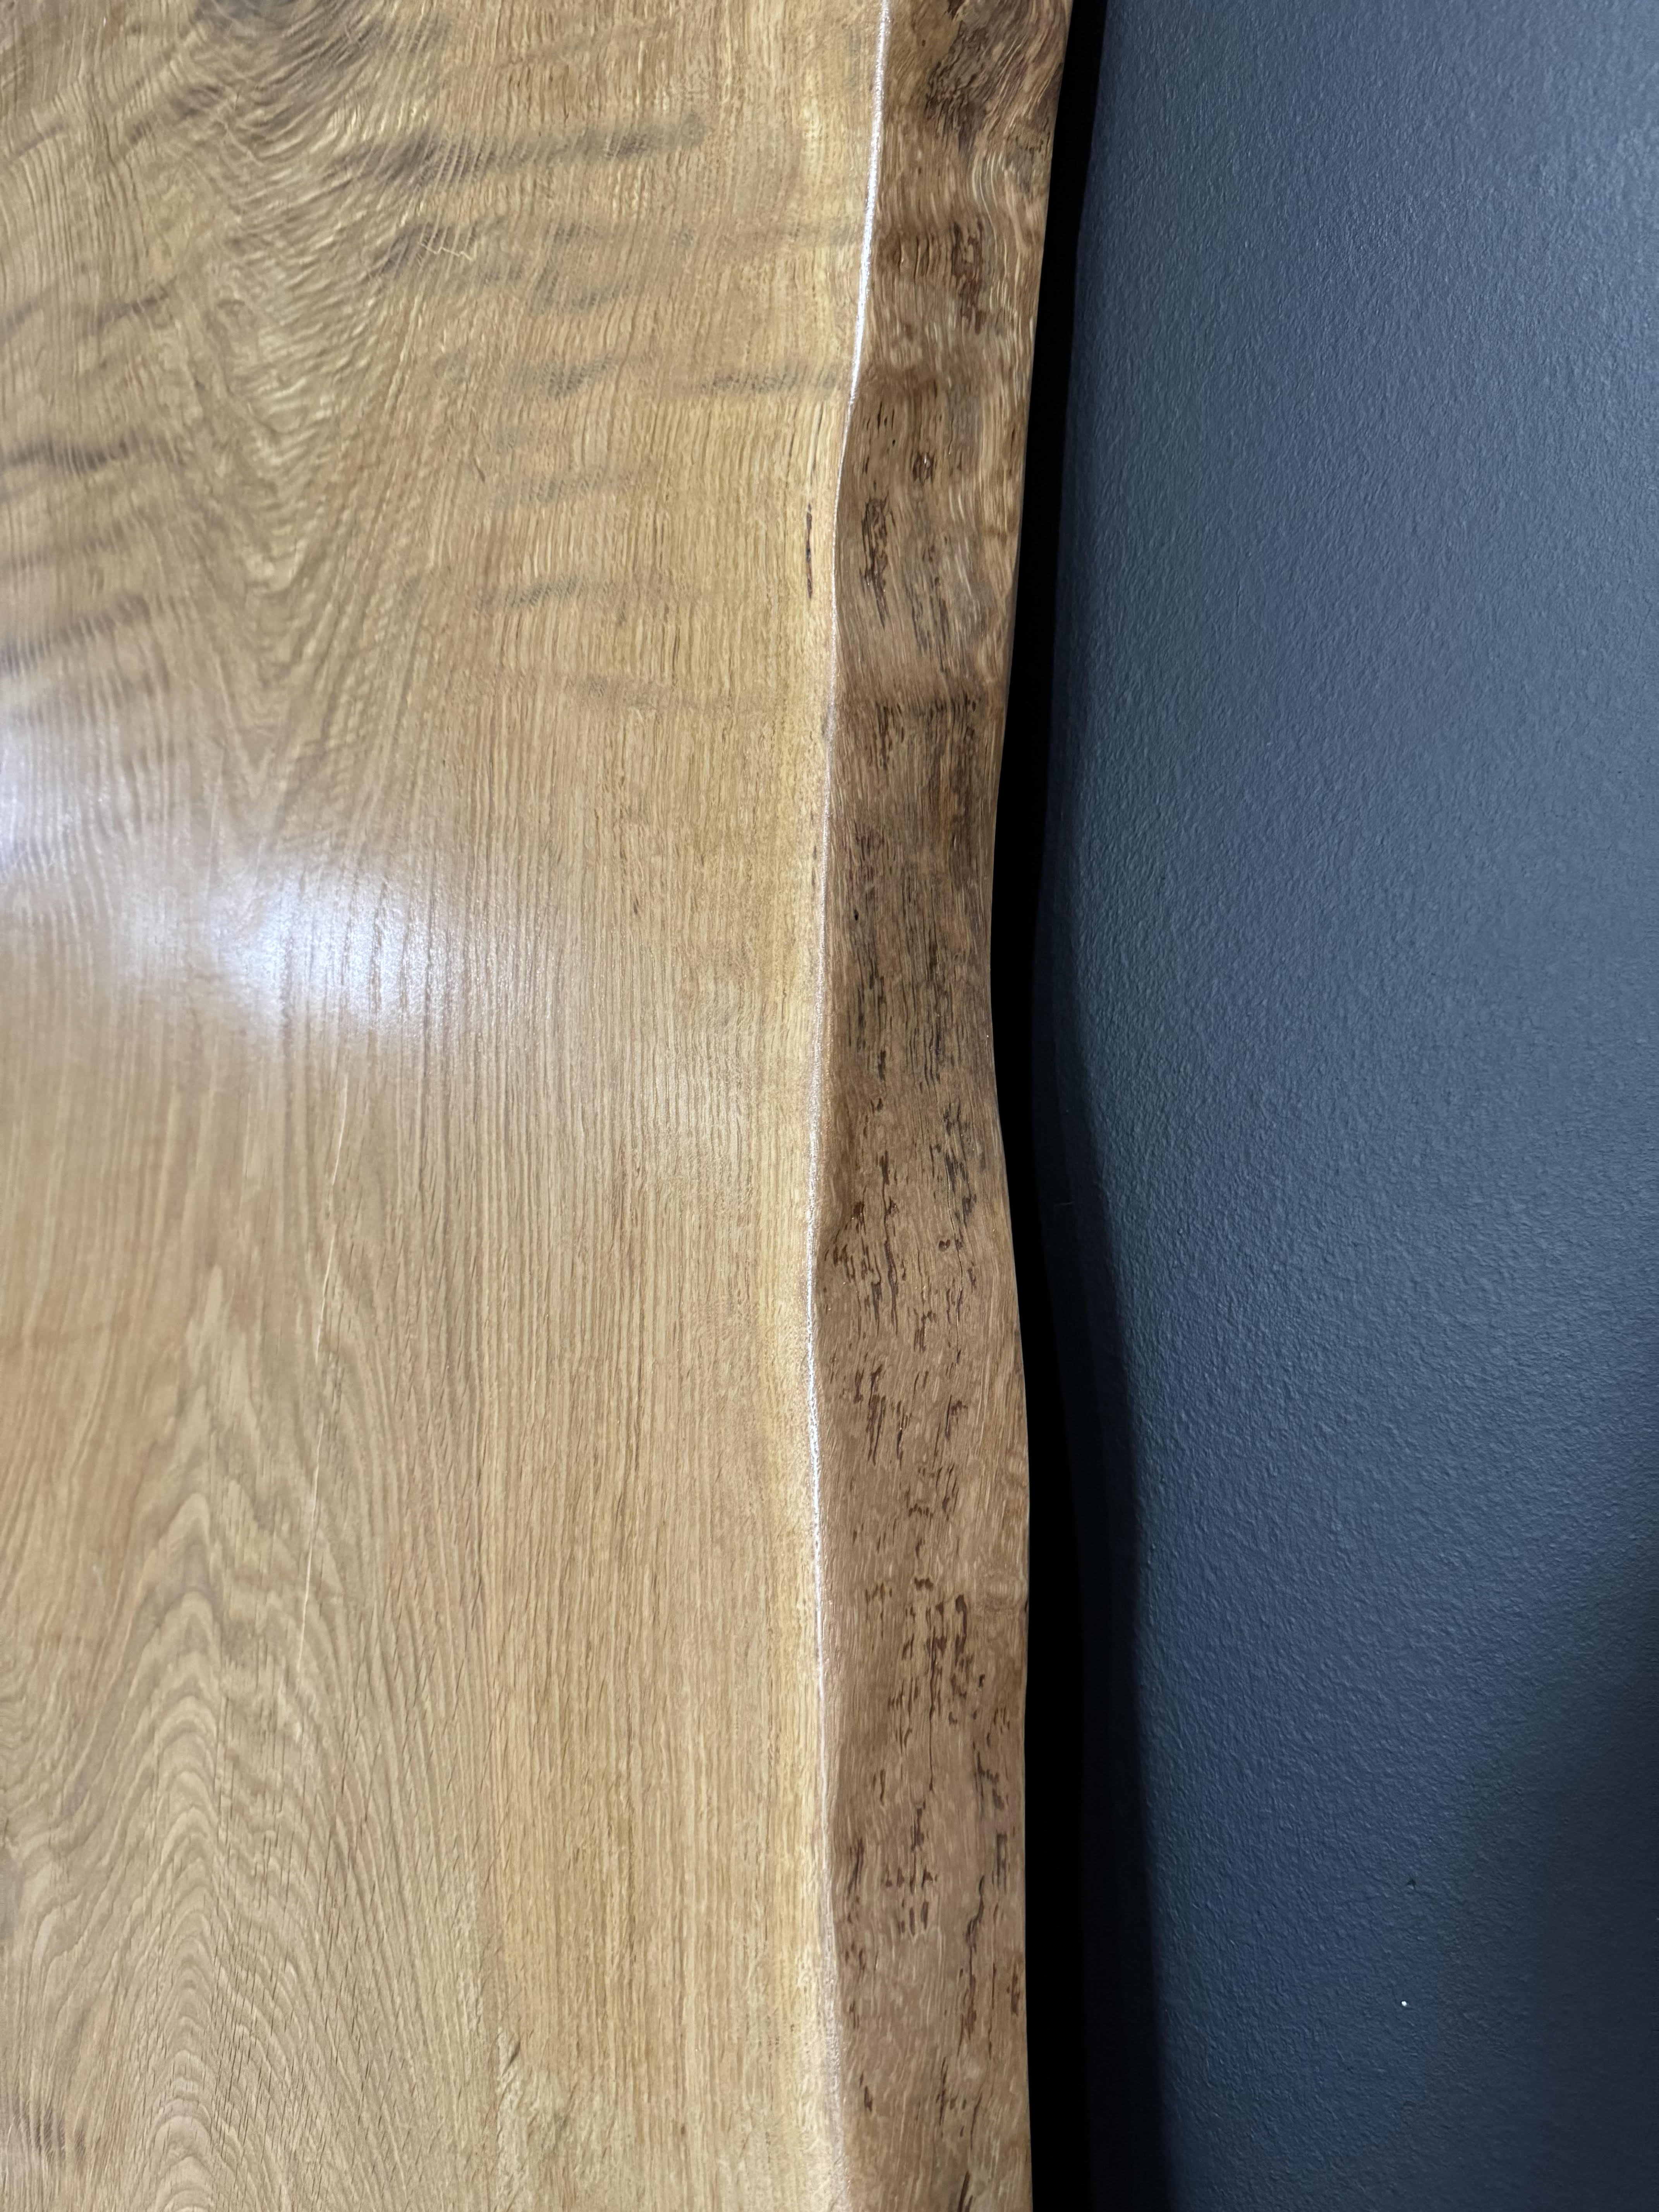
Step 3: Shape the Live Edge
Once the bark skin is gone and you’re down to clean wood, you’ll notice the edge is still a bit sharp in places. You have a couple of options:
Break the edge by hand – Use sandpaper or a sanding sponge to slightly soften the top and bottom of the live edge. This keeps the natural look but removes the bite.
Round it with a palm sander – If you want a softer, smoother curve, this is a great approach. Just be careful not to go overboard.
Avoid using a router on live edges.
Routers work best on 90° corners. On a curved or natural edge, they can dig in unevenly and ruin the look.
Pro Tip: Wait Until 180 Grit for Fine Rounding
If you want just a slight round-over, wait until you’re using 180-grit or higher before doing any edge shaping. Lower grits like 80 or 100 will remove material too quickly, often leading to deeper or uneven rounding than you planned.
Step 4: Sand Surfaces and Edges in Sync
To keep things consistent (and avoid accidentally scratching a smooth surface with a lower grit), sand the live edge and surfaces in sequence:
1. Sand the live edge at 80 grit
2. Sand the top/bottom surfaces at 80 grit
3. Sand the live edge at 120
4. Sand the surfaces at 120
5. And so on…
That way, you’re never cross-contaminating grits or skipping a step.
Final Step: Ready for Finish
Once the edge feels smooth all the way around and matches the rest of the slab in finish quality, you’re ready to oil or seal it. Want to know what finish to use? Check out our dining room table finish guide.
Looking for Ready-to-Work Slabs?
All the slabs we stock are air-dried and kiln-dried, which means:
The bark comes off easily
They’re flat and stable
You can get right to work without worrying about warping or moisture